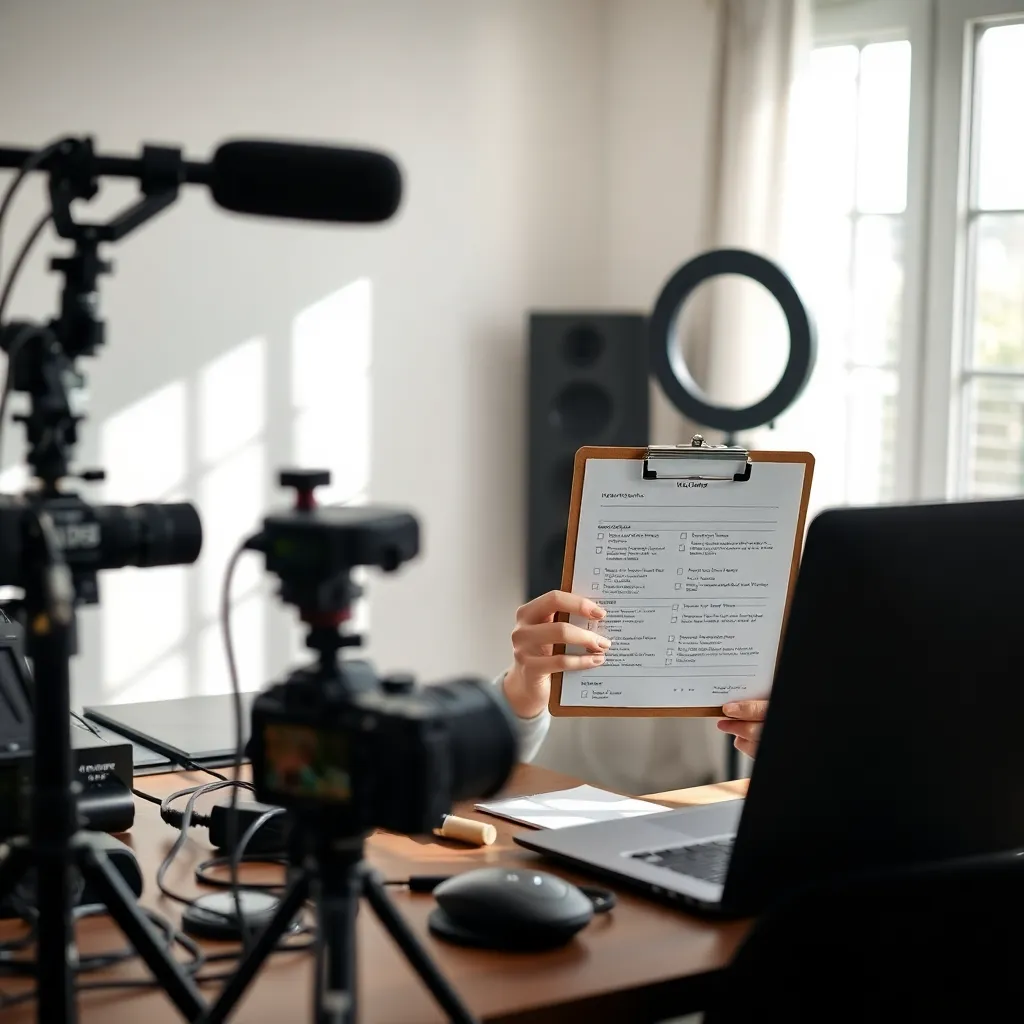
How to Nail Your Video Every Time With This
The Ultimate Pre‑Recording Checklist for Videos
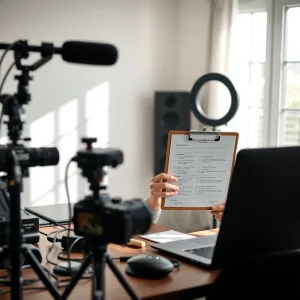
Your idea might be pure gold, but when your technical setup or delivery flops, it all goes to waste. That’s exactly why a solid pre‑recording checklist for videos matters. Even if you’re just starting out, these seven steps will set you up so your video, especially your first one, comes out looking crisp, confident and aligned with a path to Internet Profit Success.
Why you need a pre‑recording checklist for videos
First, let’s be clear. You could have the liveliest script, funniest jokes, or most heartfelt message, yet if your sound is muffled, your lighting is missing, or your background screams “I filmed this at 2 am in my Pyjamas”, you lose credibility. Without credibility, you lose viewer attention, and when you’re after Internet Profit Success, attention is everything.
Second, professionals emphasise that pre‐production (that is, preparation before the camera rolls) is not optional. It’s foundational.
Finally, the logic is simple. When you use a strong video pre‑recording checklist, you reduce surprises, you stay calmer, and you create something that looks and sounds like you’ve been doing it for years, even if it’s your first time.
1. Research, Plan & Outline Your Script
To begin your video pre‑recording checklist for videos, you must plan. Begin by picking a clear topic. Then look up YouTube/Google for high‑performing videos in your niche. What hook do they use? How’s their structure?
Next, write a punchy title and bullet your key points in a simple outline. Structure like; hook → problem → solution → proof → next step.
Finally, add a strong hook at the top. A question, promise or story.
Example: “What if you could film a pro‑looking video with just your phone in ten minutes?”
Because preparation keeps you on track, you’ll avoid rambling and you’ll make your video feel clean and engaging, a major win when you’re seeking Internet Profit Success.
2. Ensure Clear & Engaging Audio

Then make sure your audio is solid. Use an external mic if you can, or simply move closer to your phone’s built‑in mic so your voice comes through loud and clear.
Do a quick sound check before you record. Record a few seconds of test audio and listen back with headphones. Is there echo or background noise? Can you hear yourself clearly?
Choose a quiet spot. Close windows, turn off fans, eliminate distractions.
Example: Placing your mic near your mouth and using a duvet to dampen room noise dramatically improves clarity.
In short: Good audio makes your video feel professional, and professionalism builds trust, which helps when you’re going after Internet Profit Success.
3. Frame the Shot, Set Lighting & Background
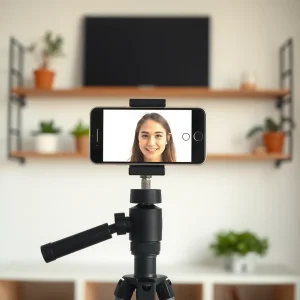
Following that, you’ll want your visuals to match your message. In this video pre‑production checklist step, set your camera at eyelevel. Use the rule of thirds to place yourself slightly off‑centre rather than dead centre to make things more visually pleasing.
Use natural or soft lighting. Avoid sitting with a bright window behind you (back‑lighting kills your face detail). Declutter your background. If possible, pick a branded setup (a bookshelf, subtle décor) or at least something tidy and neutral.
Example: A clean bookshelf background plus a ring light on your face instantly ups your production value. According to technical guides: choosing the right background and lighting makes a big difference.
As a result, viewers focus on you and your content, which means more impact when you’re shooting for Internet Profit Success.
4. Check Video Settings: Focus, Exposure & White Balance
Next up. Technology settings. Manually lock focus on your face so your camera doesn’t shift mid‑record. Adjust exposure so you’re well‑lit but not washed out. Set white balance to match your light source so you don’t end up looking orange or blue.
In a minute of prep, you save yourself from weird visual shifts, which distract viewers and undermine your message. For example: spending one minute locking exposure prevents nasty surprises later.
Video guides emphasise that this step is part of the “pre‑shoot video prep steps” many skip, but shouldn’t.
By locking these settings you reinforce your professional vibe, which aligns with your goal of Internet Profit Success.
5. Do a Short Test Run
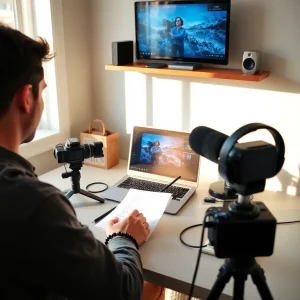
At this point it’s time for a test. Record 20–30 seconds as if this were the real take. Speak your opening lines, move in your setup, check lighting and audio.
Then play the test back. Listen for noise, check your framing, note whether lighting shifts when you move. Adjust before you full‑record.
Example: Noticing the mic is too quiet? Move it closer, increase gain, then record the full version confidently.
Because this kind of rehearsal catches problems early, you’ll save editing headaches and feel more at ease while filming. That smoother process supports your drive toward Internet Profit Success.
6. Hydrate, Dress the Part & Relax

With your technical setup locked in, it’s time to focus on you. Dress in something that feels natural but is still on‑brand. Avoid wild patterns, busy graphics or colours that clash with your background.
Keep water nearby so your throat stays clear, and take a deep breath. Smile. Relax your shoulders. Start with energy and authenticity.
Example: Choosing what you’d wear to a casual meetup, rather than a stiff suit you hate, makes you look and feel more yourself.
The more comfortable you are on camera, the more your viewers feel that comfort. And when they feel it, they’re more likely to engage, which ties back into Internet Profit Success.
7. Confirm Your Call‑to‑Action & Stop Recording Gracefully
Finally, plan your exit as well as your entrance. End with one clear call to action (CTA). It might be “hit subscribe”, “check the link below”, or “drop your thoughts below” (remember your style rules).
Leave a few seconds of silence at the end of your take to allow for a clean edit. Before you actually start – double‑check you hit the record button and it’s rolling. You’d be surprised how many people forget that.
Example: After saying “Thanks for watching, see you next time”, pause, then hit stop so your final cut has natural breathing room.
A strong finish and smooth start means smoother editing and better viewer experience, which again supports your path to Internet Profit Success.
Summary of your pre‑recording checklist for videos
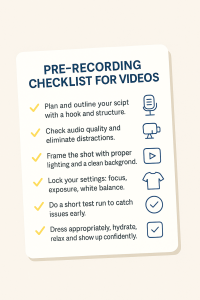
Before you hit record, take a moment to run through this quick checklist:
Plan and outline your script with a hook and structure.
Check audio quality and eliminate distractions.
Frame the shot with proper lighting and a clean background.
Lock your settings: focus, exposure, white balance.
Do a short test run to catch issues early.
Dress appropriately, hydrate, relax and show up confidently.
End strong: clear CTA, breathing room, recording confirmed.
Why these steps matter for Internet Profit Success
You might ask: “I’m just starting out, do I really need all this?” The answer: absolutely. When your setup, delivery and structure are aligned, you remove friction from your viewer’s experience.
Without distraction, viewers can focus on your message, connect with you, and follow your next step.
What happens next? Engagement rises, trust builds, actions get taken. That’s how you move from “just making videos” to building influence and momentum, part of the bigger goal of Internet Profit Success.
Furthermore, when your videos look clean and professional, you reduce editing headaches, you turn around faster, you stay consistent, and consistency is massive for growth.
In short. Investing a little time in the right prep will pay dividends in how people respond and what they do next.
Extra Tips & Bonus Hacks
Because we’re here for full value, here are some bonus tricks to raise your game:
Use natural sound breaks. Pause after a major point to give the viewer a moment to absorb and make your edit easier.
Mind your pace. Beginners often rush from nerves or crawl because they’re unsure. Aim for conversational speed, not a sprint, not a snail.
Background colour vibe. If your setup is busy, try a subtle blur (if available) or use a plain backdrop to keep focus on you.
Clip to platform specs. If you might repurpose your video for social later, think about resolution, aspect ratio, file size ahead of time.
Branding subtlety. Maybe a logo on a shelf or consistent shirt colour, over‑branding can look forced.
Pop‑filter for plosives: Words with “P”s or “B”s can cause mic bursts. A cheap pop filter or moving slightly off‑axis helps.
Lighting tweak. If you only have a window, face it. Side lighting adds dimension. Avoid flat front lighting that makes you look like you’re in an interrogation.
Spare battery/storage. Don’t find out mid‑record your battery’s dead or your memory card is full. Always keep a margin of safety.
Final thoughts
Filming your own videos can definitely feel intimidating the first few times. However, when you treat it like a process rather than a one‑take gamble, you give yourself a major head‑start. Using a pre‑recording checklist for videos might feel like extra work up front, but it’s the kind of smart work that pays off in smoother shoots, stronger delivery, and ultimately more viewer trust and action.
Next time you’re about to hit record, spend 5–10 minutes walking through the above steps. It won’t take long. It will elevate your video. And it might just move the needle for your growth and your journey to Internet Profit Success.
You’ve got this, go make something great.
